
A modern typewriter
Part 1: The technical choices

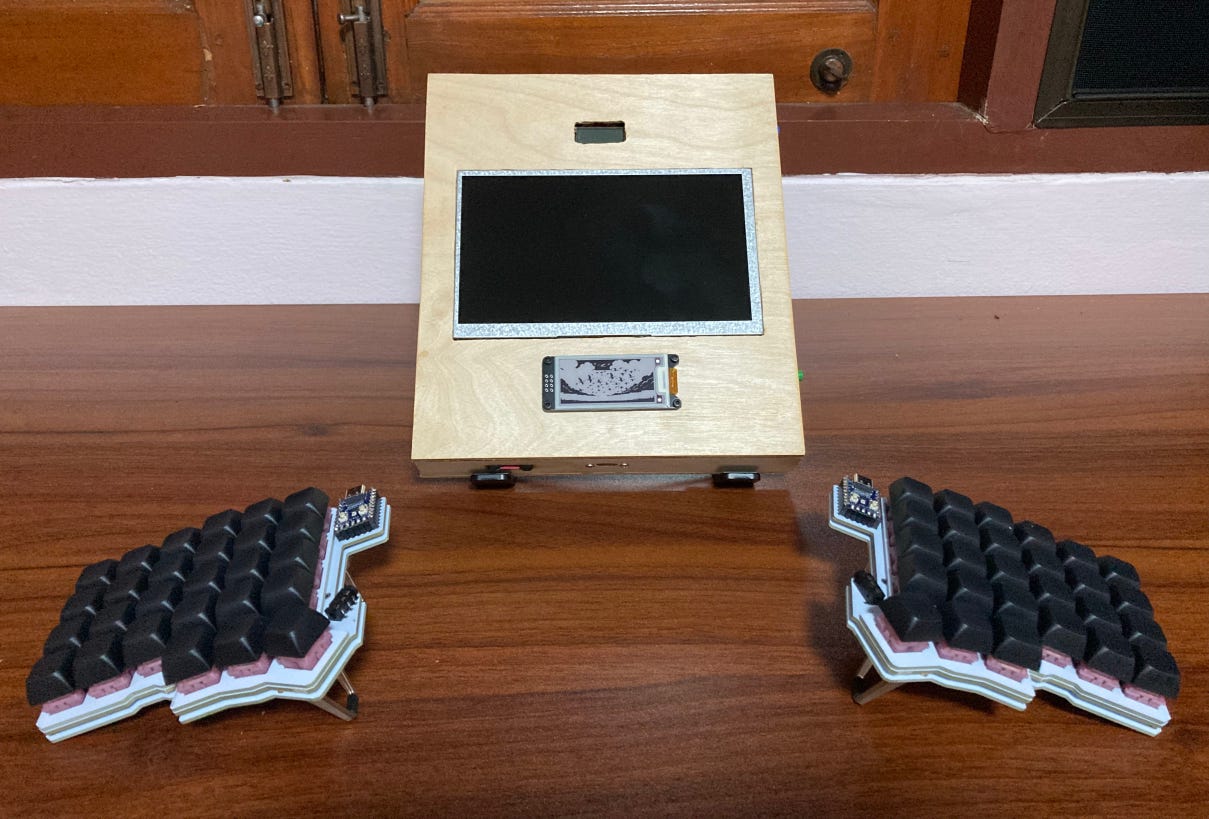
I've always a knack for computers since I was a young boy. The prospect of clicking a few buttons and getting instant feedback was very enticing as an 8 years old introverted and withdrawn kid. I was always "The computer guy" in every circle I found myself in. But it never really went past that. Then in my mid-30s, I decided that it would be interesting to venture a little further outside of my virtual comfort zone. I had an idea to build a device that would solely be used to write — a kind of modern typewriter. Writing was, and still is, not as natural a medium of expression as it is for my girlfriend. So I built this thing for her. This thing that I soon realised already had a name -- it was already a "thing": A Distraction-Free Writing Device. I called mine The Goose Writer. An inside joke and a play on words... you wouldn't get it.
I knew nothing of sensors, ePaper displays, GPIO modules, Raspberry Pis, Microcontrollers, barely anything of programming and no real knowledge of how electricity ACTUALLY works. So I had to learn a little bit about all these things. I had quite the task ahead of me, but I also had a girlfriend to impress. She knew what was being built, but I had a surprise up my sleeve. Having someone in mind other than myself that will receive whatever I conceive makes it an order of magnitude easier to keep grinding and chipping at it until it is completed and ready to be exposed.
I knew I wanted it to be portable, so I had to be mindful of the power consumption aspect. That was my first roadblock. I needed to study what components usually utilise the most power and 1) Find a power efficient component and 2) try to reasonably reduce their power consumption as much as I could.
Display
In first place for the most power hungry component is: The display. The size, the brightness and the technology are the main factors to look out for. With the size and brightness, it is fairly straight-forward... the more pixel dense and the brighter the light is emitted through or emitted from (depending on the technology), the more energy they hunger for. On the other hand, the display technology is quite a bit more complicated. There are Liquid Crystal Display (LCD), Light Emitting Diode (LED, like your modern light bulb), In-Plane Switching (IPS), Organic Light Emitting Diode (OLED), Thin Film Transistor (TFT), ePaper and many, MANY more. There are a lot. In choosing a display, there are additional specifications other than power consumption to look out for in order to fit our specific project. Output signal, quality of the image, screen resolution, physical dimensions and more. Now, in order to choose a screen, we need to know 1) What we want and 2) What we are willing to pay. In my case, since I knew that I was going to use Wordgrinder, which is a terminal-based application (more on that later), I knew that the quality and screen resolution was not important at all. I initially wanted to use a monochrome TFT LCD, the kind that was used a lot in electronics in the late 90s/early 2000s. However, those don't display the same way a "normal" display, like the one you're reading this from right now, does. At least, not the cheap ones. To spare the details, because God knows this entire article could implode into a giant rabbit hole, the most commonly available and cheap ones are called Character LCDs. They display single characters in a fixed grid-like layout like 4 rows of 20 characters each (20x4), 16x2, 20x8, etc... That would not have worked in my case. The reason I went with Wordgrinder is that it's a simple word editor that is a Linux command away from being installed on any computer. If I went with a Character LCD, which would've, on the one hand, saved a lot on power consumption, would've required me to program a word editor from scratch on the other. Considering, at the time, my beginner level of programming knowledge -- that was a non-starter. I decided to go for a 7 inches LCD display that would output an HDMI signal, mainly because of its price and ease of setup. In retrospect, the main downside of this LCD is that it consumes more energy than I would've wished because of its size.
Main board
Next in line was the main board, the brain. The thing that would make the whole thing thang. For the center piece, just like the display, I initially had a grand but naive vision of programming a word editor. A simple word editor would not need a powerful chip. A simple microcontroller would do the job. This would've had several advantages.
Speed: Running an entire Operating system simply to launch a minimal word editor is easy but slow. Running a word editor directly via a microcontroller would get the user sitting and writing an order of magnitude quicker.
Energy efficient: By-passing the need to boot an OS speaks for itself. The tl;dr is that the Linux operating system controls, directs and runs a LOT of processes that are not necessary to our little word editor. Each one consume energy.
Price: Microcontrollers are very cheap. An ESP32, which is a very common one available pretty everywhere, is only a few dollars.
As mentioned earlier, configuring and running what would become a modern typewriter on a microcontroller would not be feasible for me at the time. It wasn't worth learning all the necessary skills to make this happen. After all, the point was to have a functional writing device in a reasonable amount of time (although it took much longer than expected). I didn't want it to be power efficient at all cost. So what I ended up choosing is a Raspberry Pi Zero W.
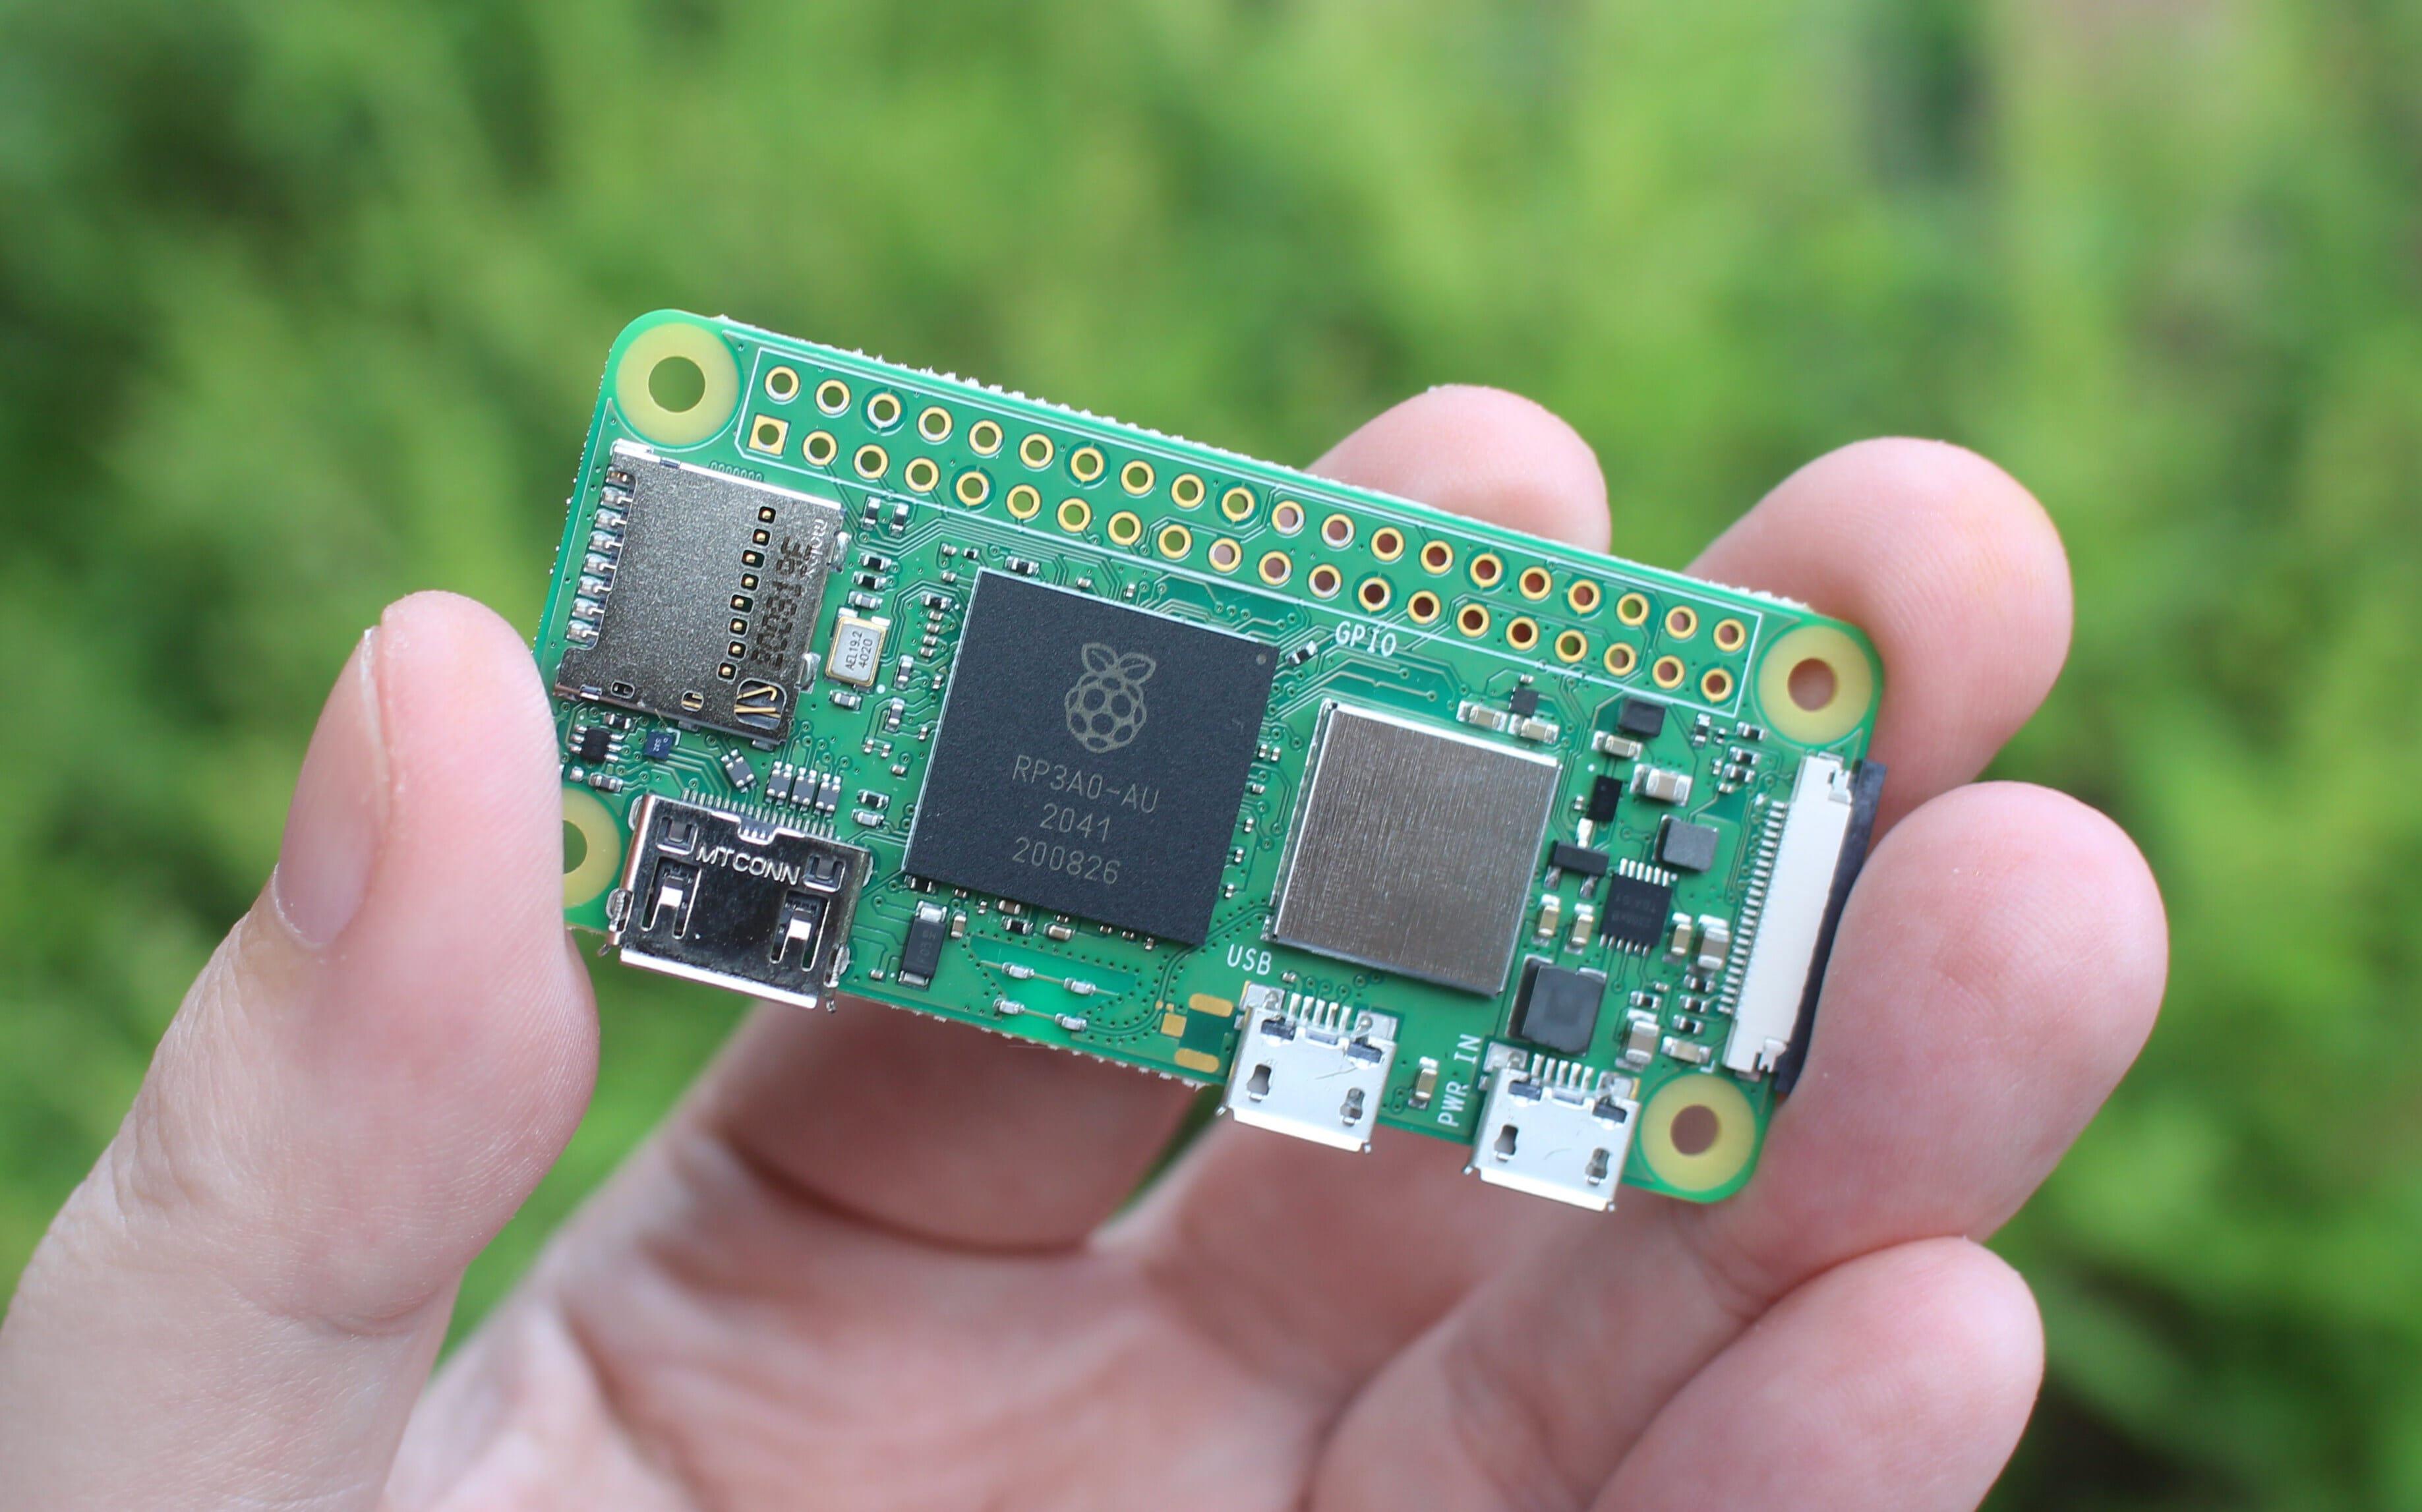
The reason for choosing it was that it is one of the most power efficient SBC (Single Board Computer) out there as well as the most thoroughly documented one. Yes, it was going to boot an entire OS to open up a simple word editor and yes it wasn't AS efficient as using a microcontroller nor was it going to be as quick, BUT, it was super easy to use and it has 40 GPIO pins that were going to be very useful for several modules.
Batteries
In normal computers, we usually see Li-Ion batteries in the form of Lithium Polymer (Li-Po) which are pouch-like shaped. However, not only are those very dangerous if you don't know what you're doing (pointing at me), they are not modular. 18650 battery cells on the hand, are much less dangerous as they are encased in a metal shell much like your typical AA battery, they are also modular. You can solder them together in series or in parallel or a combination of both to build custom battery packs. So that's what I did. I originally soldered 6 18650 cells in parallel (6x 3500 mAh) to get as much juice as possible in the form factor that I was going for. However, since I cheaped out on them (bought on Aliexpress - I wouldn't recommend doing that), two cells were malfunctioning and bulging (no bueno - mucho dangerouso). I had to dispose of them and ended up with a 4-cell pack. Less juice but still got me around 6-7 hours of use.
So those are the main components that were used in The Goose Writer. The other components were chosen for necessity or fun. For the little surprise – something I knew my girlfriend, who has a soft spot for Japanese traditions, would appreciate – I built in a second display. That display is a 2-inch ePaper display that cycles through the current Japanese microseason. These displays use power only when they refresh their image, making them ideal for projects that benefit from having a constant image displayed that seldom changes. For this project, the image was going to refresh only once every 4 days: a pixelated image representing the current microseason, matching the vibe of pixelated Japanese images I was going for. There are 72 of these microseasons in total, each lasting 4 days, and alongside the image, a mini description is displayed at the bottom of the main display. This, I thought was putting a little touch of beauty and perhaps giving a bit of inspiration to the writer without creating too much distraction.
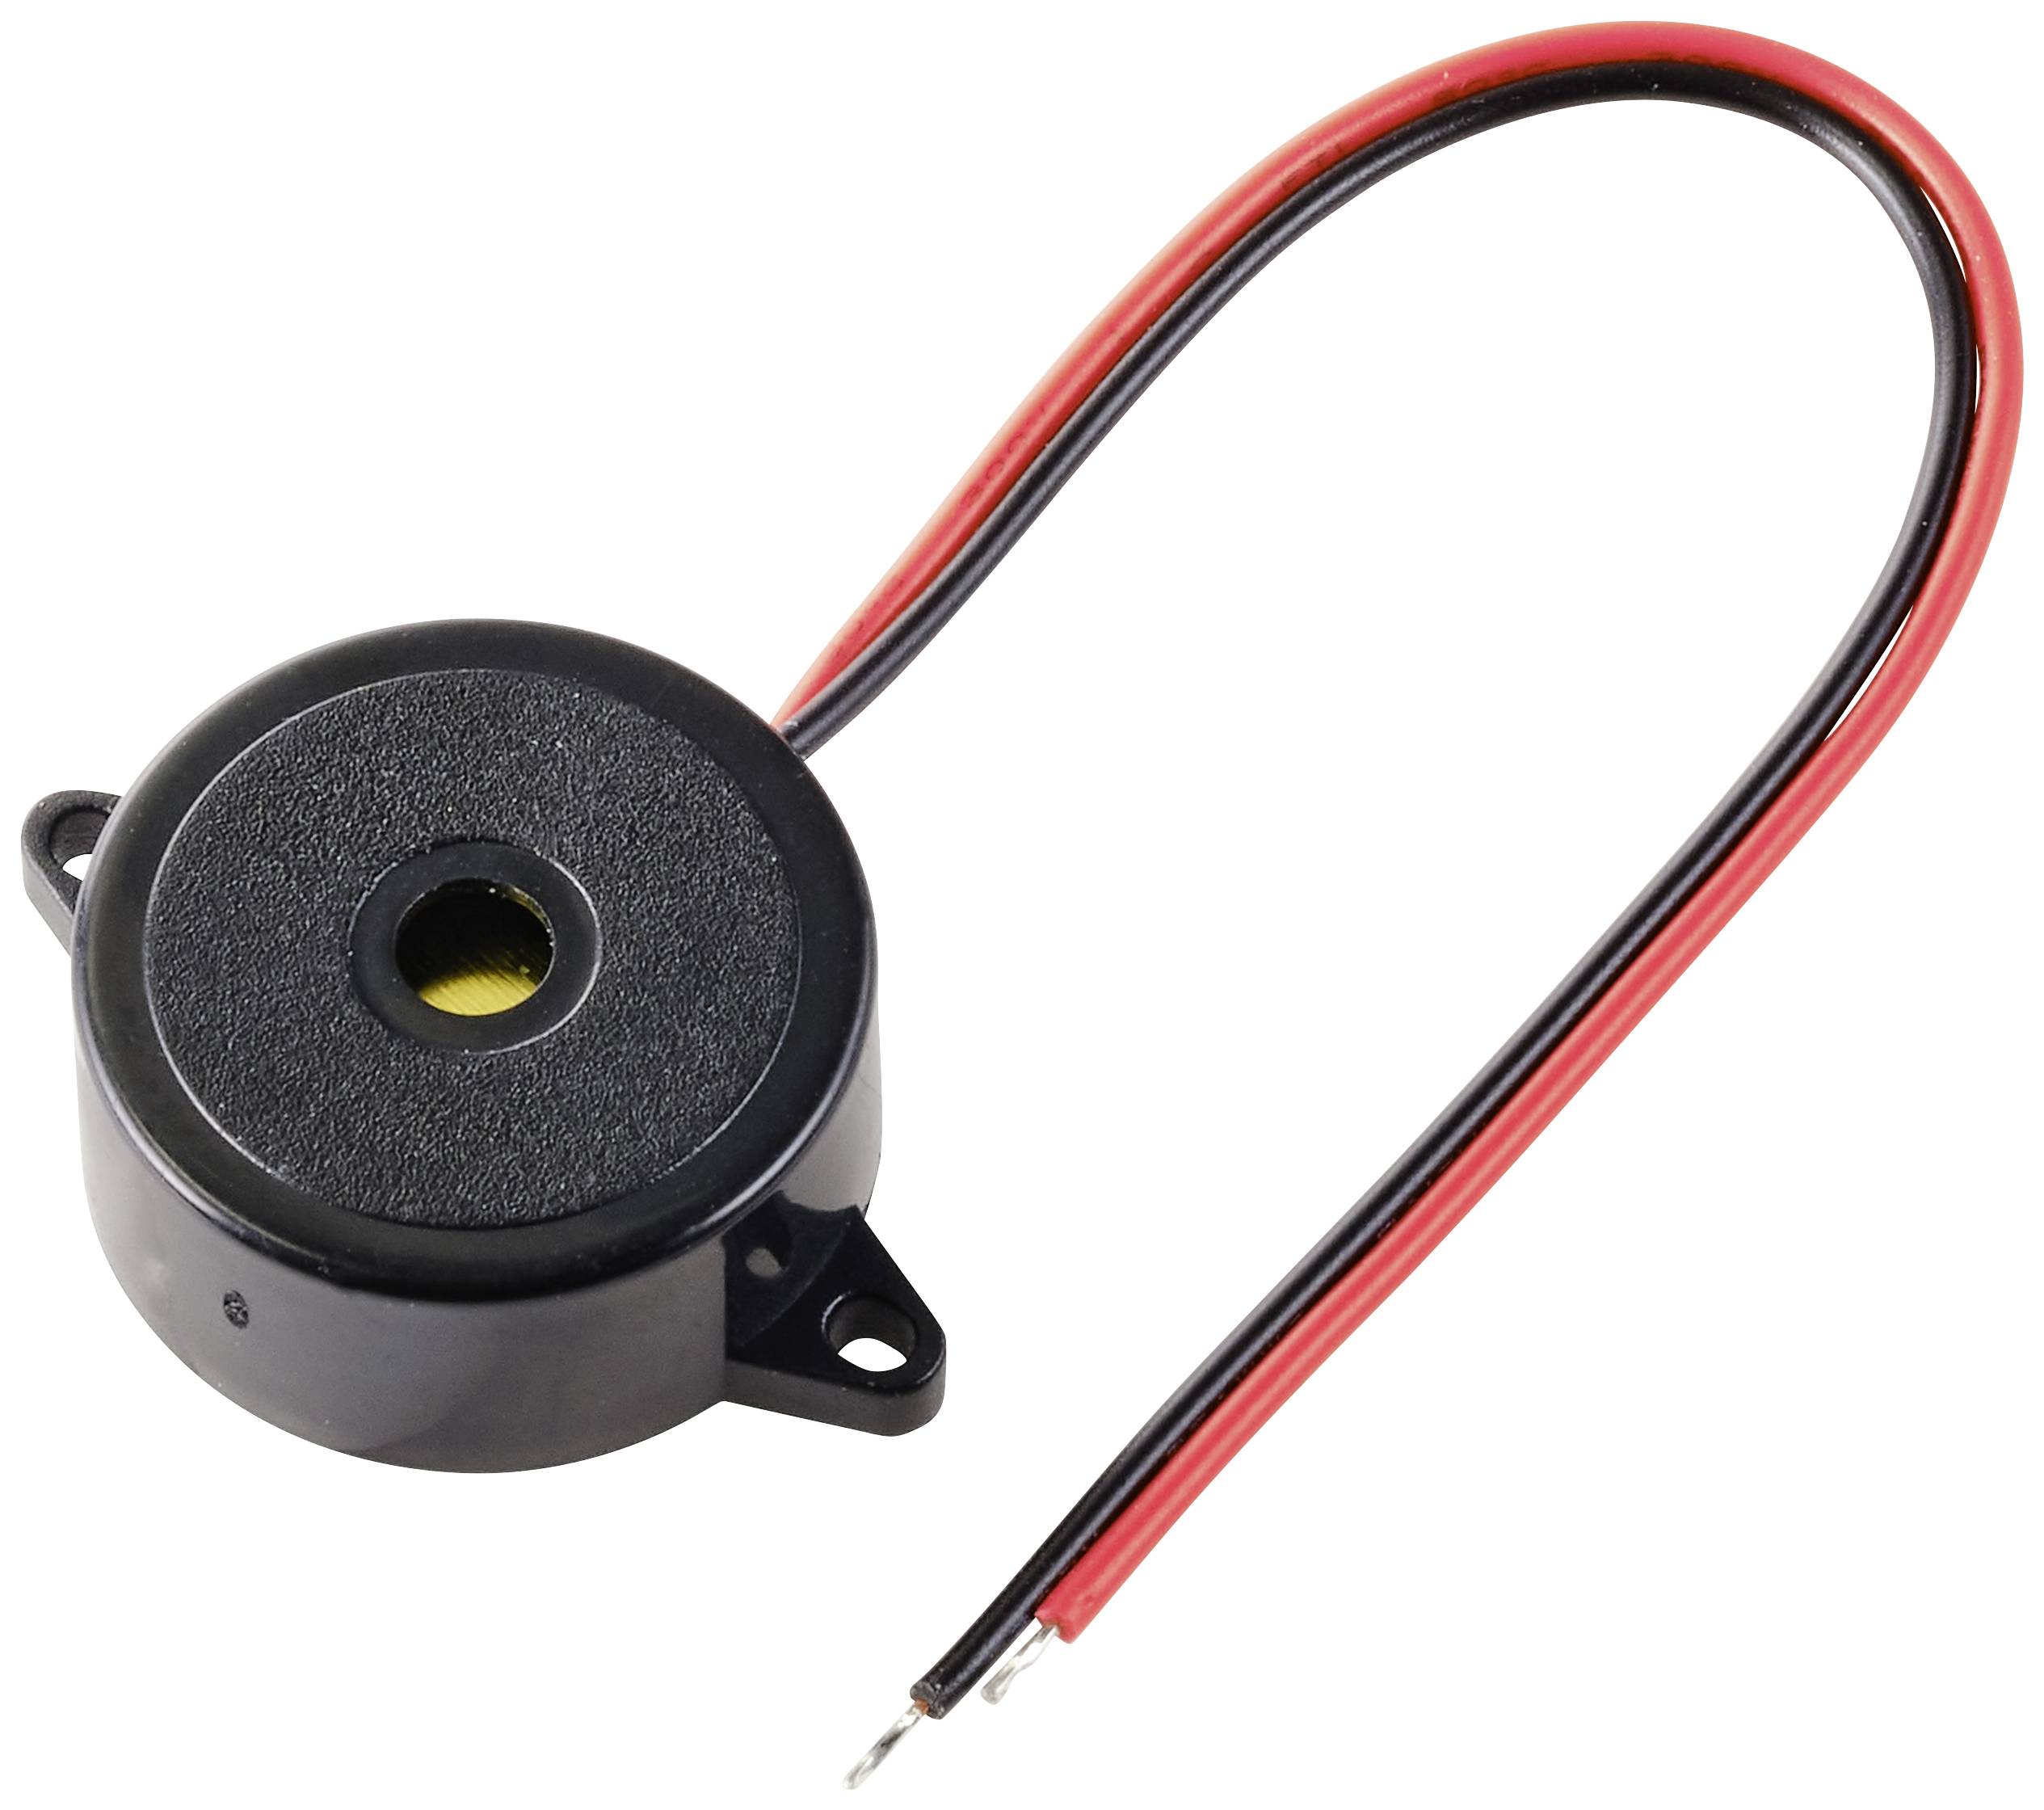
On the side of the device, there are two buttons. The first is a safe shutdown button. SD cards are notoriously susceptible to data corruption. There are quite technical explanations as to why that is, but one of them is due to their size. The physical size makes them prone to corruption from electrostatic discharges from brown outs or black outs as they have less physical shielding and fewer internal protective components compared to larger storage devices. This is why I have programmed a button that the user can press in order to perform a safe shutdown which closes all processes of the Operating System cleanly before cutting off the power. Along with this and for the same reason, I have soldered a ADS1115 module that is able to detect changes in voltage. Below a certain voltage, a piezo buzzer will beep alerting the user that the device will perform a safe shutdown in 2 minutes in order to prevent the device from power cutoff and possibly corrupting the SD card.
The second button, when pressed performs the following tasks:
Connects to WiFi.
Perform a check between the local markdown files in a specific folder (on the writing device) with the files in a specific folder on Google drive.
If it finds files that are either new or have changed, it will upload or overwrite those files to Google drive. Otherwise it does nothing.
Disconnects from WiFi to save on battery.
This button is quite helpful for later either posting writings as blog posts from another computer or simply as a mean of backup. Another very useful use-case would be to upload whatever markdown files that are upload to X folder on Google drive as a blog post. Platforms like bear blog allows you to do that. Writing a blog post entirely from The Goose Writer would be really cool.
Making this device took quite a long time as I knew nothing of this world prior to starting this project. It was a fun and sometimes frustrating journey. I thought it would be interesting to share what were my choices and why I made them.
If you are interested in building a distraction-free writing device yourself, check out The Goose Writer’s Github repository.
The repository walks through the entire process. It goes through the entire process of building one yourself from A to Z in a fairly beginner-friendly way (according to me):
Every component (except the case) is listed with a link to the store and its price at the time of purchase.
Every piece of hardware soldered and wired is explained.
Every tool needed is also listed.
Every software installed and configured is explained.
All 72 pixelated microseason images are included.
If you have ANY questions or comments, please don't hesitate to reach out. I would be delighted to hear from you.
The Goose Writer's github repository: https://github.com/loonglade/the-goose-writer
Logs of what I'm currently learning/working on: https://www.loonglade.com/logs
Other projects: https://www.loonglade.com/ideas